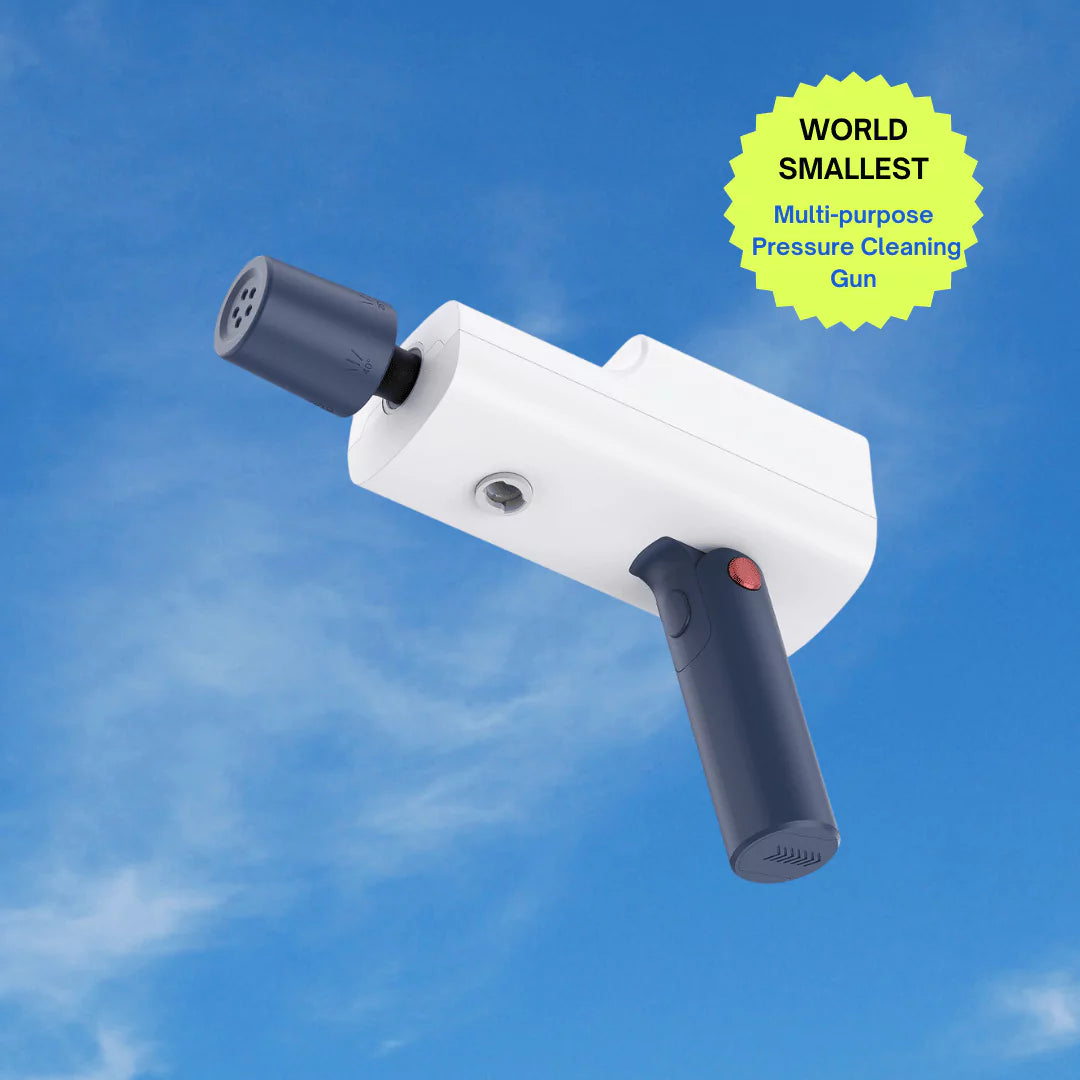
FoamMaster Use Guide
Important Notes
No watering allowed: Ensure no water enters the sprayer head as it contains electronic components.
Release Pressure: Always press the safety lock to release pressure after each use to maintain your FoamMaster’s effectiveness and safety
1.5 Liters Limit: Do not exceed the max capacity of the solution.(1.5 liters is the limit)
Please use only the charging cord we provide: Plugging the charger into a power outlet that provides 40 watts(ps: don't use computer USB port, might not provide enough power to charge the unit fully)
- Please fully charge before use.
- Do not wash the sprayer head.
- Do not spray into eyes.
Step 1: Unboxing
Remove the FoamMaster from its packaging. Verify all components are present as per the included checklist.
Step 2: Prepare the FoamMaster
- Open the Bottle: Unscrew the bottle cap by turning it counter-clockwise.
- Mix the Solution: It's best to check the specific recommendations on the back of the shampoo bottle. You might start with a 1:20 ratio and gradually add more shampoo if you're not getting enough lather. This way, you can avoid unnecessary waste
Step 3: Install the Nozzle
- Attach the Nozzle: Securely fasten the nozzle to the bottle by rotating it clockwise, making sure it’s tightly sealed to avoid any leakage.
- Safety Lock: Press and release the safety lock to expel any residual pressure. This is a crucial safety measure to prevent accidental discharge.
Step 4: Ready to Use
Your FoamMaster is now prepared for use. Build up pressure by pumping the handle, then squeeze the trigger to dispense foam.
Troubleshooting Tips:
- If shampoo leaks from the nozzle: This indicates an excess of water. Reduce the amount of water slightly and test again.
- If nothing comes out of the nozzle: This typically means there’s too much shampoo. Add more water to balance the mixture and ensure smooth operation.
Final Note:
Always press the safety lock to release pressure after each use to maintain your FoamMaster’s effectiveness and safetyPlease use only the charging cord we provide.


